
Sewing with vinyl gets a bad wrap.
 Why? It can be difficult to sew with. It tends to stick to the presser foot and needle plate, causing all sorts of frustration. Plus, it’s not very forgiving. If you have to rip out any stitches, there will be holes left behind in the material.
Before you take even one stitch with your vinyl, it’s important to properly prepare the material. Often times, you’ll find there are creases or folds in the vinyl. You’ll want to remove these creases and make sure your vinyl is nice and flat before you begin sewing.
To prepare the vinyl, you can hang it on a clothesline so that it hangs straight. Or try using an iron on a low-heat setting along with a pressing cloth. You can also try just hovering your iron over the vinyl. Don’t use steam and be careful not to touch the vinyl with the iron – it will melt and stick to your iron!

For best results and to prevent creasing, do NOT fold the vinyl. Instead, roll it up and store it standing up in a basket. You can secure the roll with a rubber band or some twine to keep it from unrolling. Just keep the band or twine loose. You don’t want to create a crease in the vinyl.

For projects that need a little extra durability, you may want to try using a heavy duty thread. I’ve had success using bonded nylon thread.
Bonded nylon thread is safe for home sewing machine use. It’s a strong thread that is often used in upholstery and drapery sewing.

www.terryapparel.co.nz has a good selection.
It’s also a great option for using as a decorative stitch with vinyl, such as with topstitching and Varigated thread gives a lovely contrast.
Schmetz actually makes a sewing machine needle designed for use with vinyl. In fact they have a vinyl needle and a non-stick needle.
These needles have a special coating that helps the needles glide through the vinyl and keeps the vinyl from sticking to the needles.

Because the needle actually punctures holes in the vinyl when you sew with it, it’s important to select a long stitch length. If you use a short or regular stitch length, you can literally perforate the vinyl.
In fact, take a scrap piece of vinyl and try some different stitch lengths to see what works best for you.

If you find that you are breaking your thread often while sewing with vinyl, you may need to adjust your sewing machine tension. Because the vinyl is a thick material, you might want to ease up on that tension by lowering the tension.
Again, use a scrap piece of vinyl to practice sewing a few stitches, making any necessary adjustments to tension and stitch length to get the best results.

Remember, if you puncture your vinyl with your sewing machine needle, pins, or even scissors, the puncture will be permanent. So, when you need to secure layers together for sewing, use clips instead of pins.
I like to use Wonder Clipss, but you can use any brand of clips. Just don’t use pins!

You also don’t want to leave the clips on your vinyl for very long because they can leave permanent indentions in your vinyl.
To get perfectly straight cut lines and edges on your vinyl, be sure to cut the vinyl with a rotary cutter.
Always remember to cut AWAY from yourself to prevent cutting yourself.

There are a few different types of presser feet that you can use to sew vinyl. My first choice would be a teflon presser foot.


If you don’t have a teflon foot you do have another option. Simply apply a piece of Scotch tape to the bottom of your presser foot. The tape will help your foot to glide over the vinyl.
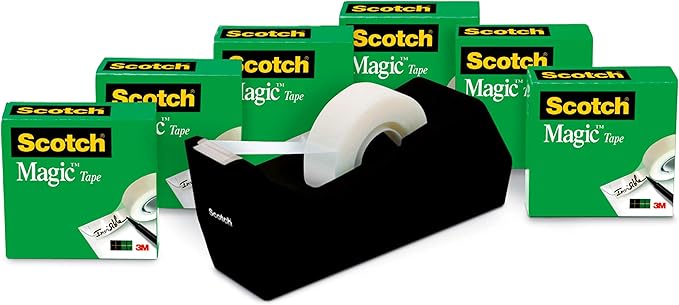
For those of us who love to use double sided tape our needles can tend to gummy up. What I find often useful to do is drop a small bit of machine sewing oil at the top of the needle and let it run down the needle and which helps when sewing. A gummied up needle will effect your stitches and cause them to be uneven and wobbly looking.
Alternatively you can keep some Alchol wipes close by and wipe your needle down. 

Although I’ve mentioned this earlier, it’s important to mention it again. To have the best results with sewing with vinyl, the very best thing you can do is to test first. Just take a scrap piece of vinyl, change your presser foot, tension, thread, etc. and test stitch. Make any necessary adjustments, test again until you are happy with the results.

Well I hope you found these tips useful for when you are sewing your beautiful creations with Vinyl.